A few years back, when the practice of converting movies from 2D to 3D became common, I figured I’d embrace the technology rather than fight it. It’s very difficult to re-create all of the realistic levels of depth & detail in a 2D conversion that you could’ve gotten by just shooting it in 3D in the first place, not to mention all the time spent doing the conversion! Of course that’s not possible with previously shot material, or maybe due to some limitations while filming, so there’s a growing demand for converting 2D to 3D; if done well, it’s amazing!
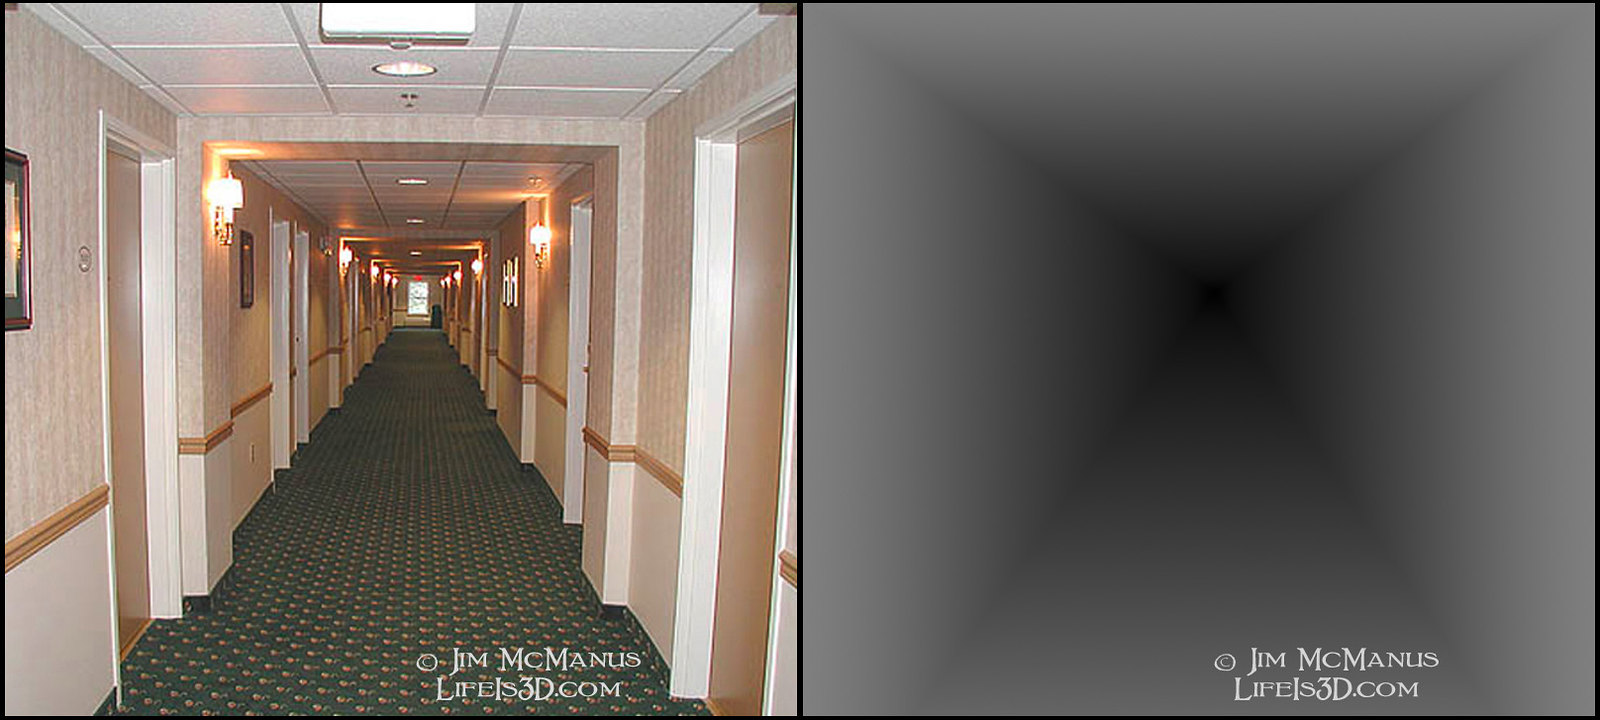
For my first-ever attempt at doing a 2D to 3D conversion, I decided to try a “depth map” so I chose a seemingly simple hallway shot, but the fact that it was taken closer to the ceiling than the floor (at standing human height) led to creating a more complicated depth map. If the photo was taken from the XY center, I could’ve simply used a single square gradient tool spun to 45º & stretched to match dimensions. What follows is the solution I came up with:
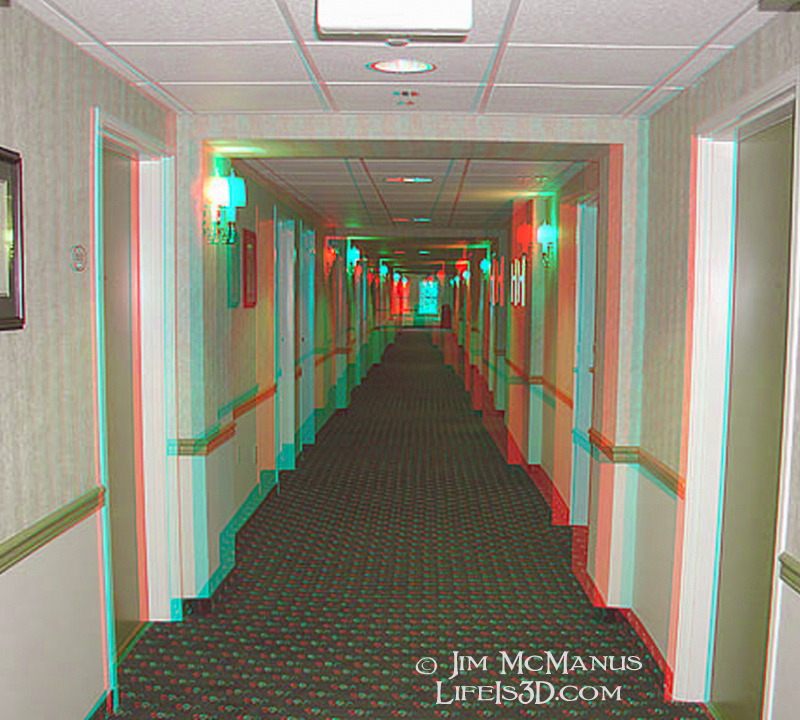
Above, on the right is the depth map I created from the original 2D hallway image (on the left). Some geometry was involved in intersecting 4 different gradient layers & finding the correct ‘blending mode’, but I think it was still better than trying to paint a perfect depth map by hand! Brightness levels represent ‘distances’ into the scene. See the 3D version below:
More complicated depth maps can handle a variety of shapes… here’s a Moon conversion:
And here’s a postcard I converted to 3D for a friend’s video project (I like the rough texture):
The most challenging conversion that I’ve done to date is this photograph of the “Unisphere” in Flushing Meadows Park; plenty of small details, but boy was that see-through globe tricky!
I had to ‘pop out’ the sphere, push part of it back in, & place the rest of it even farther back:
Since this & other successes, I’ve learned to utilize many different methods of conversion, commonly using multiple techniques to achieve one desired result. A significant amount of time can be necessary, whether utilizing depth mapping or ‘slicing’ your image into many concentric selections. I needed a much faster way, so I ended up developing what I call the “Pop-Up” or “Storybook” method… I usually first approach a scene as if I’m ‘folding’ it like a piece of paper, then ‘popping out’ the various details up close, like a “pop-up” storybook!
I’M NOW OFFERING MY CONVERSION SKILLS TO YOU Contact me at jim@lifeis3d.com


